This WordPress website uses FluentC
The drop down in the menu of this website is powered by FluentC WordPress Plugin
Stop losing visitors today because you don't support their language!
- Version: 1.00
- Last updated: 3 Months Ago
- Active installations: 1,000+
- WordPress Version: 4.0 or higher
- Tested up to: 6.2.3
- PHP Version: 5.6 or higher
FluentC can be live on your WordPress site in minutes!
1
Install the Plug-in
The directions are listed below but it is a simple as any other plugin is install in WordPress
2
Setup your Widget
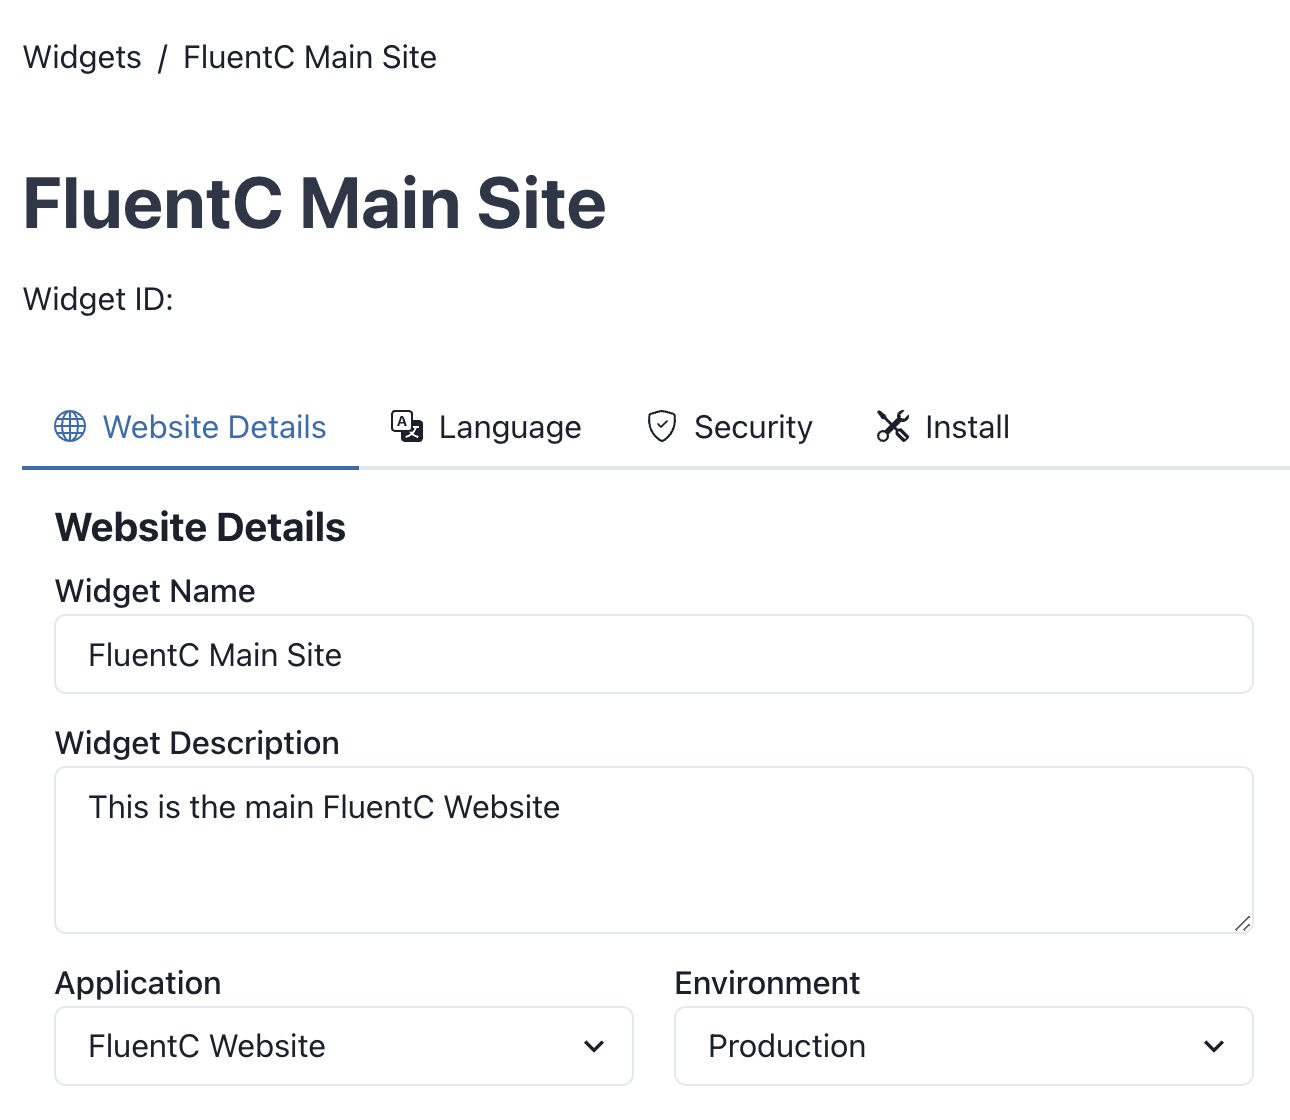
Only 4 steps and can be configured with the languages you want to support and the address of your website
3
Install the HTML
After you install the plugin and setup your widget, all you need to do is copy the html that generates the list of languages
4
Subscribe
Once you experience how user-friendly FluentC is during your free trial, you can purchase credits to continue delivering your websites in various languages.
Frequently Asked Questions
1Does your Plugin in support SEO?
Yes, downloading the WordPress multi-language plugin from https://www.fluentc.ai and see it in action
2Why not let my visitors use Google Translate?
Google forces your users to translate each of the pages of your site one at a time.
3How do translation plugins work?
FluentC scans your website in real-time and translates your website into the language that the user has selected
4Is the translation accurate?
Accuracy is the key to how FluentC works. We use the best technology and AI to ensure proper translations.
5Can I translate my entire website with a plugin?
Yes, the FluentC plug-in works as your user goes from page to page
6What languages are supported?
143 Languages are supported. Read the Supported Languages page see the complete list
7What is the cost of using a translation plugin?
Simple flat fee pricing. Only pay for what you use. Read more on the Pricing page
8Is FluentC Secure?
Yes, FluentC keeps all of your content safe and secure

FluentC is here to help you better serve your WordPress website visitors
Take A Peak Under The Hood

This is the only screen in the plugin. Simple, Easy and Secure

Simple three step process to get your FluentC API Key
Installing and Configuring the FluentC Plugin for Your WordPress Website
Download the plugin:
Install the plugin:
-
- Log in to your WordPress admin dashboard.
- Go to
Plugins>Add New. - Click on the
Upload Pluginbutton. - Choose the downloaded ZIP file and click
Install Now. - Once the installation is complete, click
Activateto activate the plugin.
Configure the plugin settings:
-
- In the WordPress admin dashboard, go to
FluentC Settings. - Sign up for an account on FluentC Dashboard if you haven't already.
- Subscribe to the premium plan to access the web widget feature.
- In the FluentC Settings page, enter your FluentC API Key in the provided field.
- Check the "Automatically Insert Language Dropdown" box if you want the language dropdown to be automatically inserted in the content.
- Save the changes.
- In the WordPress admin dashboard, go to
Add the web widget to your website:
-
- Depending on your theme, the FluentC web widget might be automatically inserted.
- If not, open the template file(s) where you want to display the widget.
- Add the following code where you want the widget to appear:
Update your website:
-
- Save the template file(s) if you made any changes.
- Visit your website to see the FluentC web widget in action.
That's it! You have successfully installed and configured the FluentC Web Widget WordPress plugin. The web widget will now be displayed on your website, allowing visitors to switch between different languages.

